概述
还有更多功能等着探索,首先先把官方文档放在这里:Debug Adapter installation · mfussenegger/nvim-dap Wiki · GitHub
编译安装gdb14
安装的时候遇到了3个问题,首先是说makeinfo: not found,这个可以直接sudo apt install texinfo,然后是configure的时候提示:

同理也是先把这两个安装完了就行。
配置nvim-dap
新建一个文件,~/.config/nvim/lua/plugins/dap.lua,然后加上我们要写的配置:
return {
  {
    "mfussenegger/nvim-dap",
    event = "VeryLazy",
    keys = {
      -- add a keymap to browshttps://github.com/cmu-db/bustub.gite plhttps://github.com/cmu-db/bustub.gitugin files
      -- stylua: ignore
      {
        "<f5>",
        function() require("dap").continue() end,
        desc = "launch/continue gdb",
      },
      {
        "<f10>",
        function()
          require("dap").step_over()
        end,
        desc = "单步调试",
      },
      {
        "<C-f10>",
        function()
          require("dap").step_into()
        end,
        desc = "步入",
      },
      {
        "<C-f>",
        function()
          require("dap").step_out()
        end,
        desc = "步出",
      },
      {
        "<C-f5>",
        function()
          require("dap").terminate()
        end,
        desc = "终止程序",
      },
    },
    config = function()
      local dap = require("dap")

      dap.adapters.gdb = {
        type = "executable",
        executable = {
          command = vim.fn.exepath("gdb"),
          args = { "-i", "dap" },
        },
      }
      dap.configurations.c = {
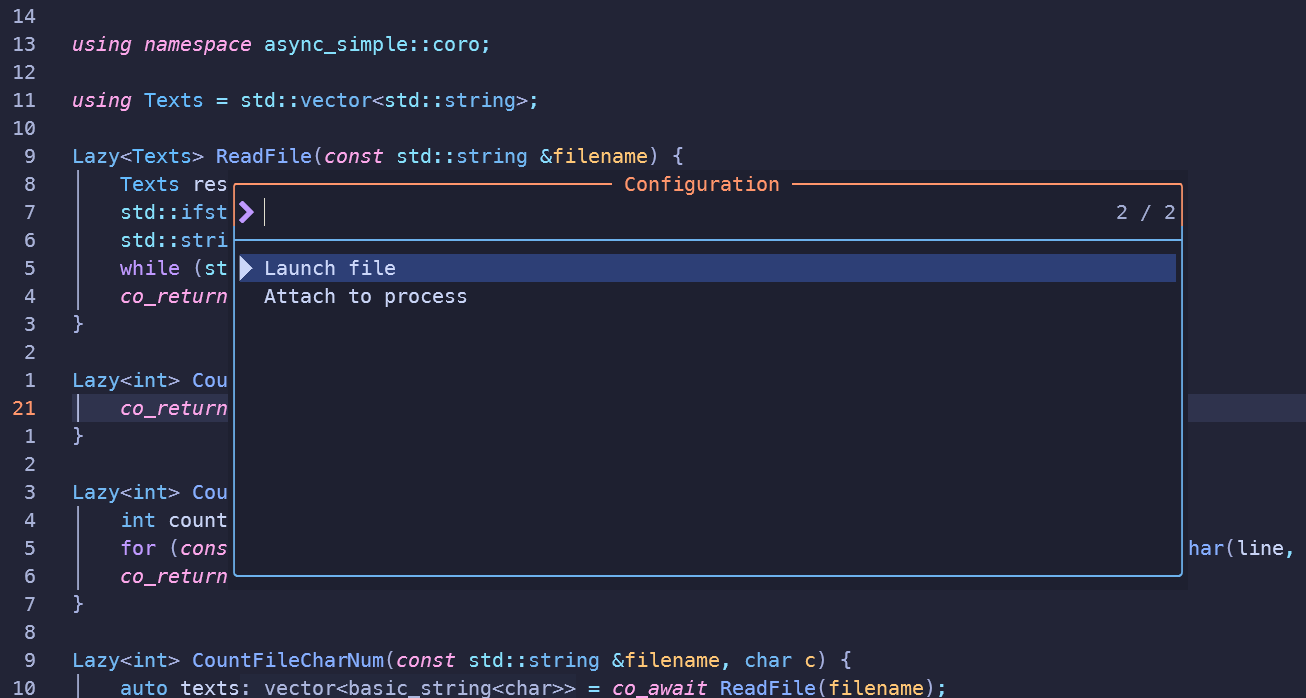
        name = "Launch file",
        type = "gdb",
        request = "launch",
        program = function()
          return vim.fn.input("Path to executable: ", vim.fn.getcwd() .. "/", "file")
        end,
        gdbpath = function()
          return "/usr/bin/gdb"
        end,
        cwd = "${workspaceFolder}",
      }
    end,
  },
  {
    "rcarriga/nvim-dap-ui",
    dependencies = {
      "mfussenegger/nvim-dap",
    },
    opts = function()
      local dap, dapui = require("dap"), require("dapui")
      dap.listeners.before.attach.dapui_config = function()
        dapui.open()
      end
      dap.listeners.before.launch.dapui_config = function()
        dapui.open()
      end
      dap.listeners.before.event_terminated.dapui_config = function()
        dapui.close()
      end
      dap.listeners.before.event_exited.dapui_config = function()
        dapui.close()
      end
      return {
        enabled = true, -- enable this plugin (the default)
        enabled_commands = true, -- create commands DapVirtualTextEnable, DapVirtualTextDisable, DapVirtualTextToggle, (DapVirtualTextForceRefresh for refreshing when debug adapter did not notify its termination)
        highlight_changed_variables = true, -- highlight changed values with NvimDapVirtualTextChanged, else always NvimDapVirtualText
        highlight_new_as_changed = false, -- highlight new variables in the same way as changed variables (if highlight_changed_variables)
        show_stop_reason = true, -- show stop reason when stopped for exceptions
        commented = false, -- prefix virtual text with comment string
        only_first_definition = true, -- only show virtual text at first definition (if there are multiple)
        all_references = false, -- show virtual text on all all references of the variable (not only definitions)
        filter_references_pattern = "<module", -- filter references (not definitions) pattern when all_references is activated (Lua gmatch pattern, default filters out Python modules)
        -- Experimental Features:
        virt_text_pos = "eol", -- position of virtual text, see `:h nvim_buf_set_extmark()`
        all_frames = false, -- show virtual text for all stack frames not only current. Only works for debugpy on my machine.
        virt_lines = false, -- show virtual lines instead of virtual text (will flicker!)
        virt_text_win_col = nil, -- position the virtual text at a fixed window column (starting from the first text column) ,
      }
    end,
  },
  {
    "theHamsta/nvim-dap-virtual-text",
    opts = {},
  },
}
这里使用了三个插件
mfussenegger/nvim-dap提供基本的dap支持rcarriga/nvim-dap-ui提供调试的ui,类似VSCode 的调试界面那样theHamsta/nvim-dap-virtual-text在调试的代码附近用虚显的文件显示变量信息
官方仓库配置示例:https://github.com/mfussenegger/nvim-dap/wiki/Debug-Adapter-installation#ccrust-via-vscode-cpptools
配置完成
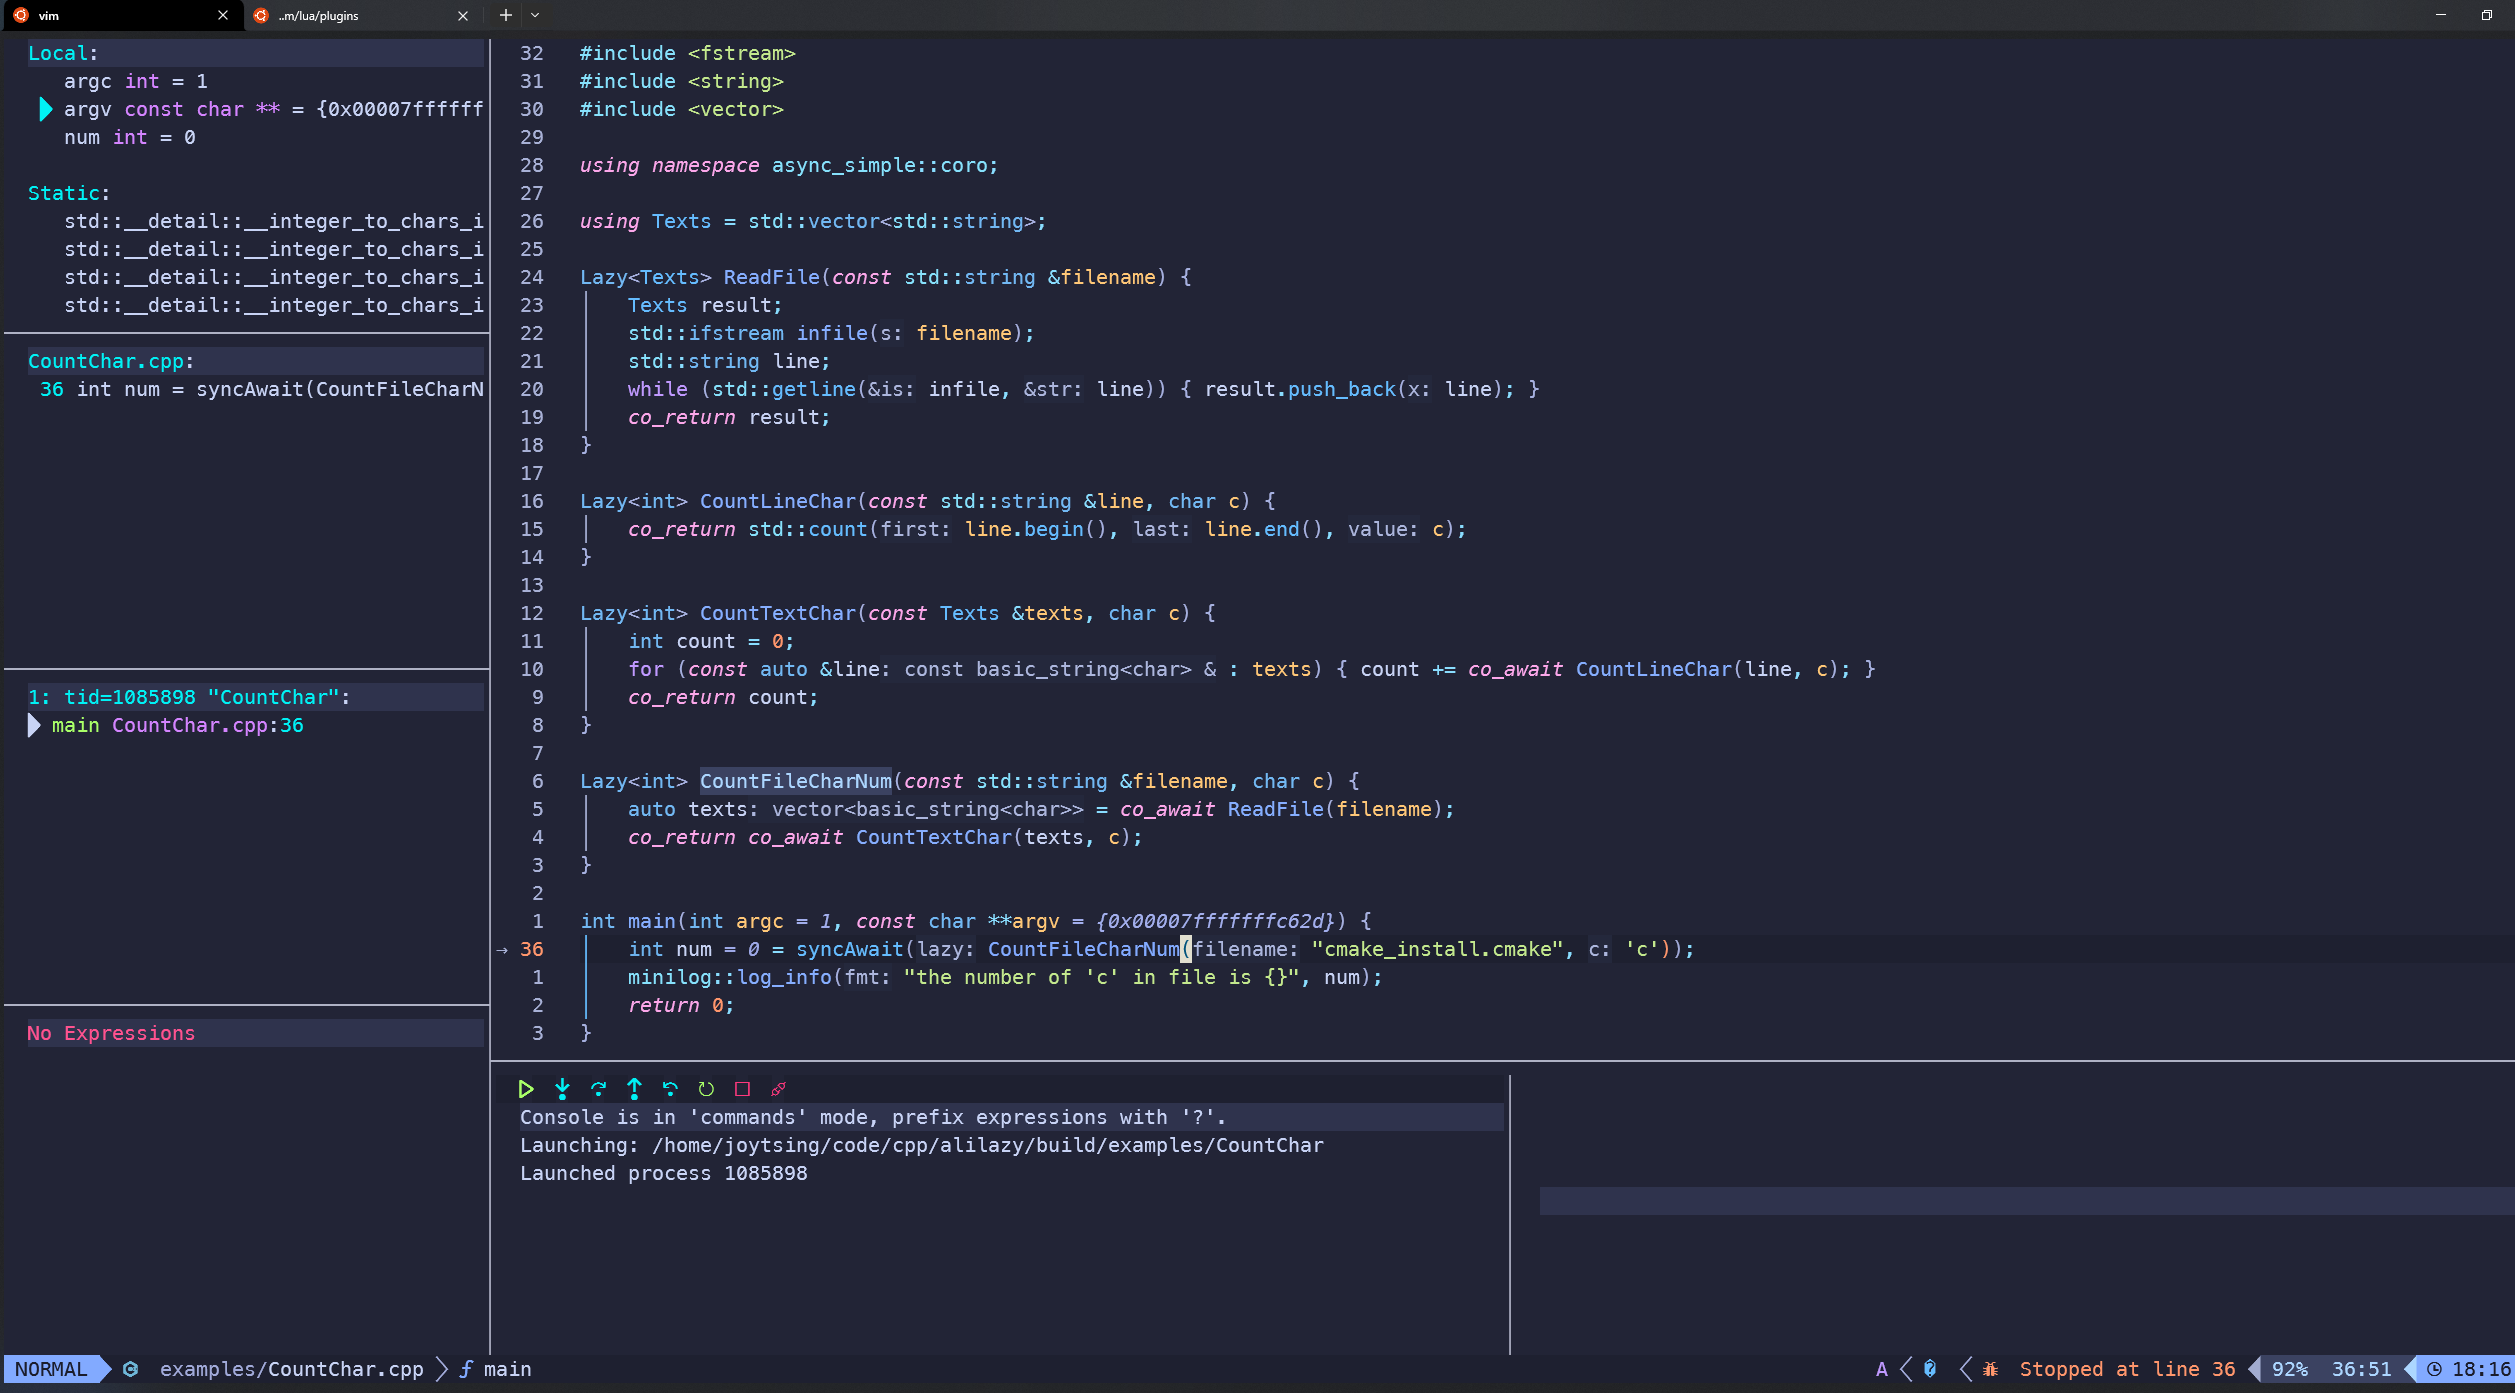
正常情况下按f5(或者你自己的启动配置)或命令模式输入DapContinue会出现这个界面,剩下的就无需多言。
至于打断点的行的标志和颜色是可以自己配置的,把乱码的地方改成你喜欢的符号即可
-- 设置调试相关的字符和颜色
local dap_breakpoint_color = {
breakpoint = {
ctermbg=0,
fg='#993939',
bg='#31353f',
},
logpoing = {
ctermbg=0,
fg='#61afef',
bg='#31353f',
},
stopped = {
ctermbg=0,
fg='#98c379',
bg='#31353f'
},
}
vim.api.nvim_set_hl(0, 'DapBreakpoint', dap_breakpoint_color.breakpoint)
vim.api.nvim_set_hl(0, 'DapLogPoint', dap_breakpoint_color.logpoing)
vim.api.nvim_set_hl(0, 'DapStopped', dap_breakpoint_color.stopped)
-- 输入unicode的方法:ctrl + v + u 再输入unicode码
-- 可在https://www.nerdfonts.com/cheat-sheet查询想要的字符
local dap_breakpoint = {
error = {
text = "",
texthl = "DapBreakpoint",
linehl = "DapBreakpoint",
numhl = "DapBreakpoint",
},
condition = {
text = '',
texthl = 'DapBreakpoint',
linehl = 'DapBreakpoint',
numhl = 'DapBreakpoint',
},
rejected = {
text = "",
texthl = "DapBreakpoint",
linehl = "DapBreakpoint",
numhl = "DapBreakpoint",
},
logpoint = {
text = '',
texthl = 'DapLogPoint',
linehl = 'DapLogPoint',
numhl = 'DapLogPoint',
},
stopped = {
text = '',
texthl = 'DapStopped',
linehl = 'DapStopped',
numhl = 'DapStopped',
},
}
vim.fn.sign_define('DapBreakpoint', dap_breakpoint.error)
vim.fn.sign_define('DapBreakpointCondition', dap_breakpoint.condition)
vim.fn.sign_define('DapBreakpointRejected', dap_breakpoint.rejected)
vim.fn.sign_define('DapLogPoint', dap_breakpoint.logpoint)
vim.fn.sign_define('DapStopped', dap_breakpoint.stopped)
-- end dap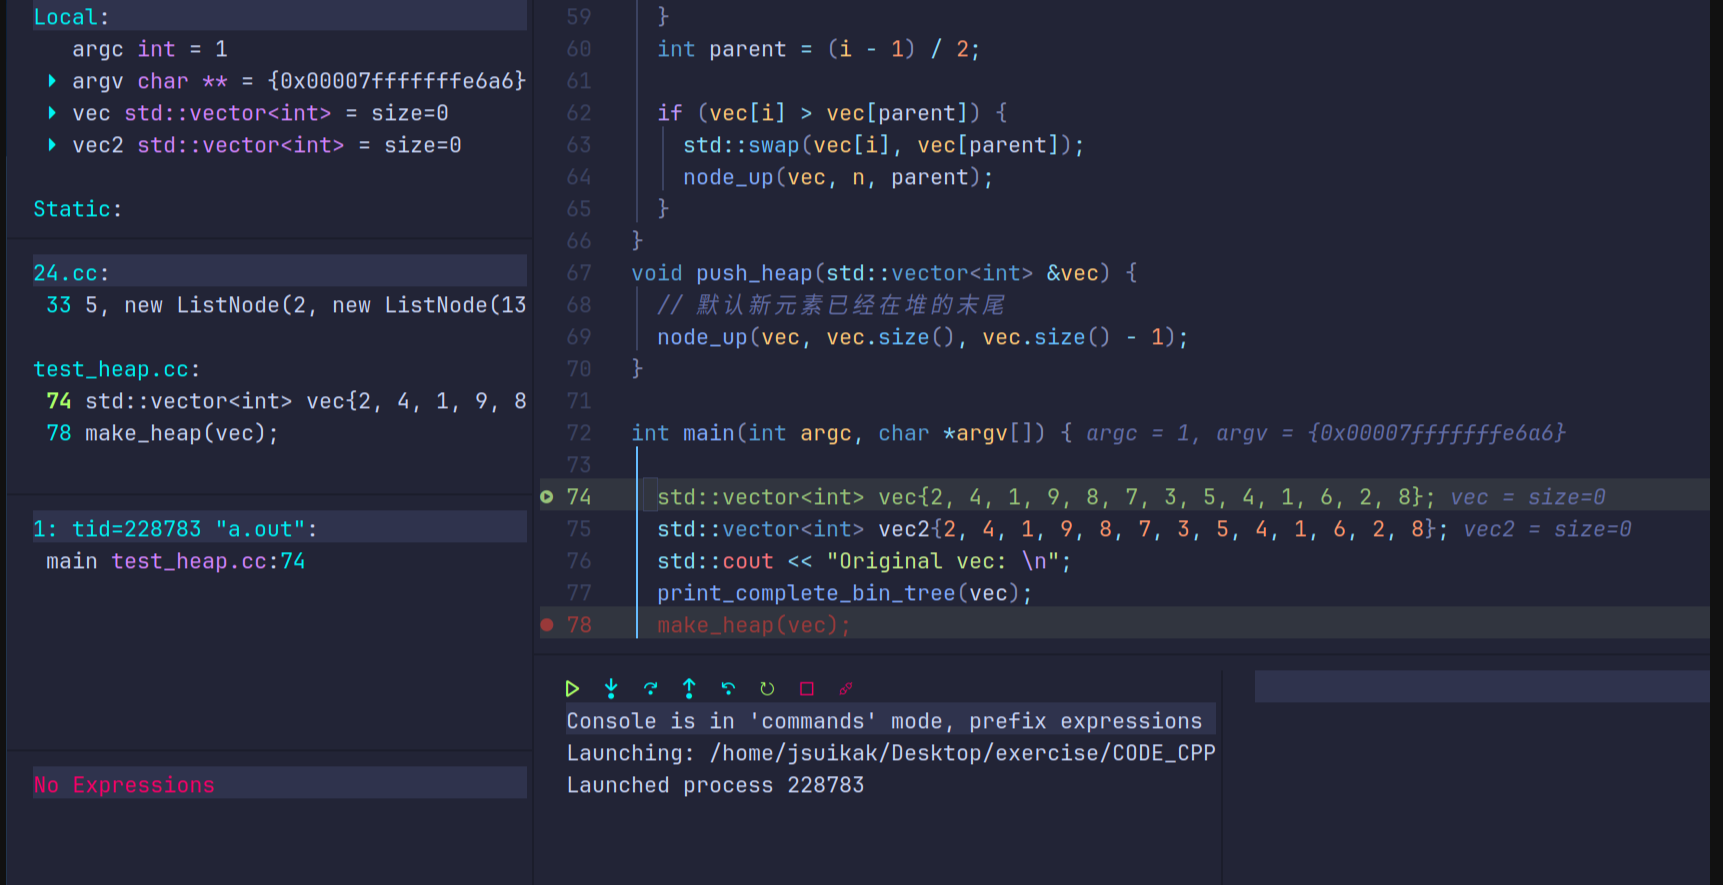
至此就可以不用使用gdb -tui加上tmux双开调试了,直接在里面就行。
配置CMakeTools
现在可以直接在vim里面调试了,那不如再把cmake加进去。

首先nvim先支持cmake,除此之外我们还需要编写配置文件,配合lualine让状态栏能够显示我们要的cmake,怎么编写状态栏还有怎么让鼠标事件生效比较复杂,就不在这里贴了,除此之外还需要修改cmake-tool.lua,他默认生成的文件是在out里面,需要我们改成我们自己需要的,左键点击运行,右键选择更改。
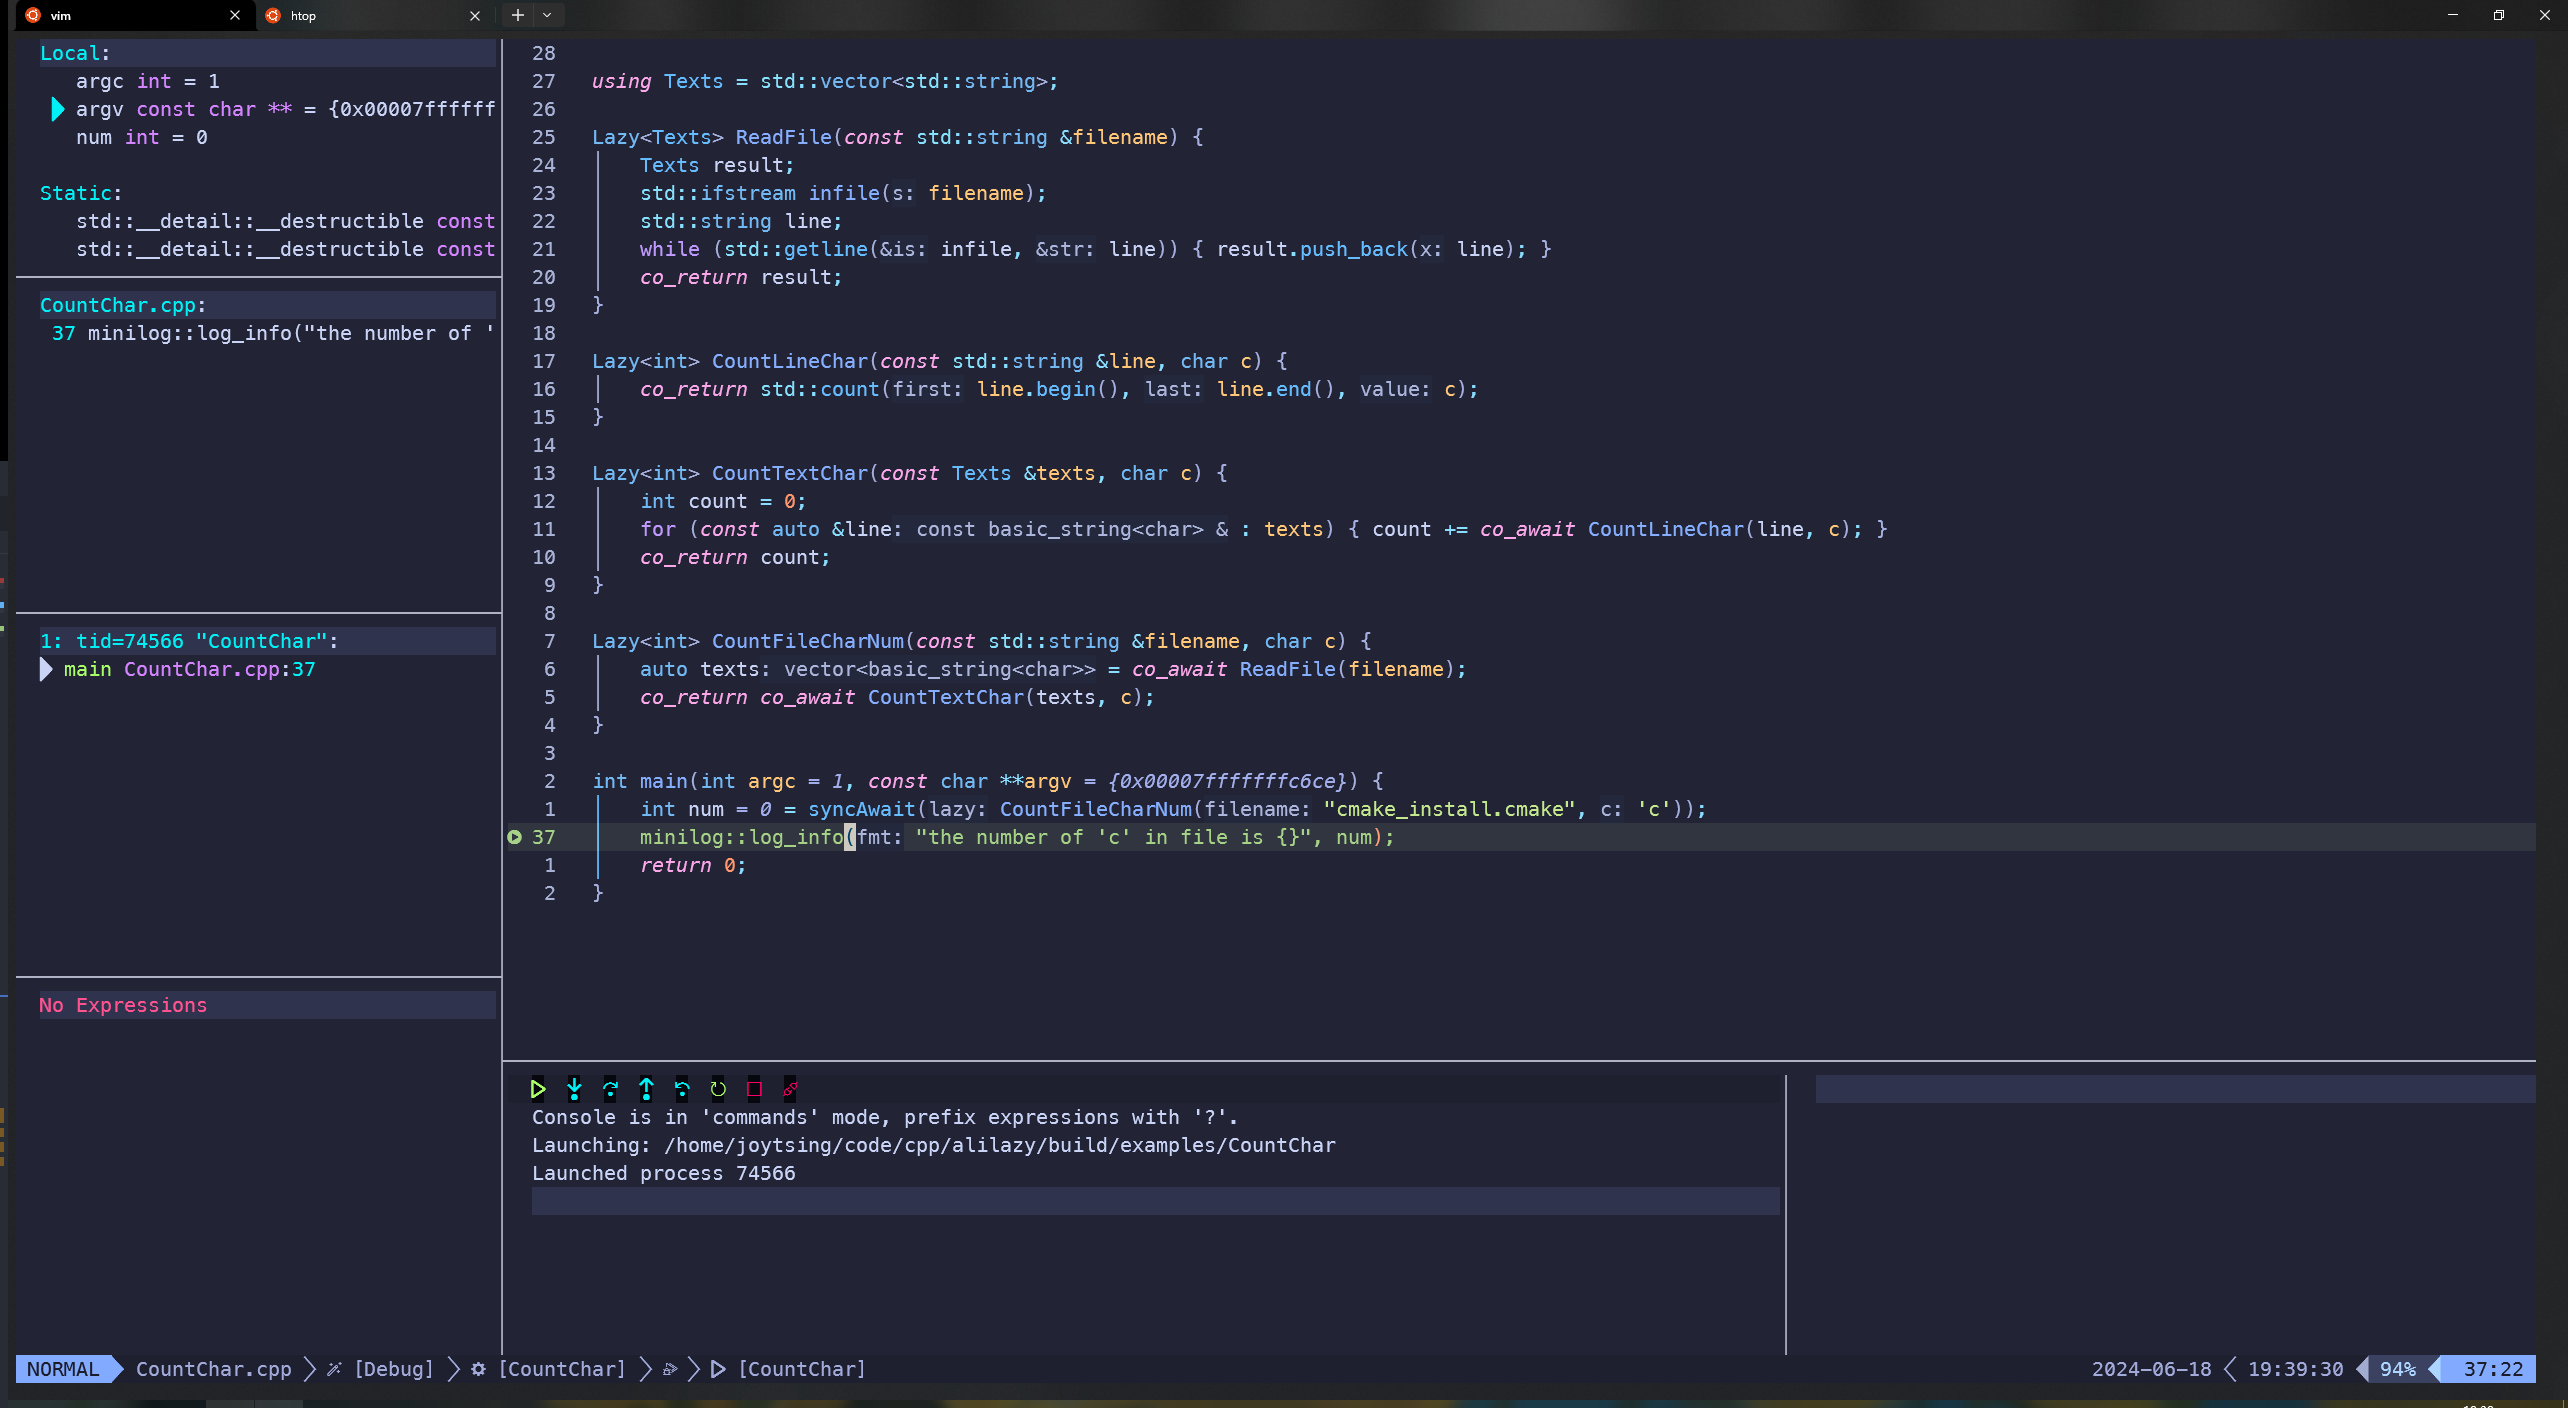
lualine设置好后再重新配置dap,直到满足我们的需要。
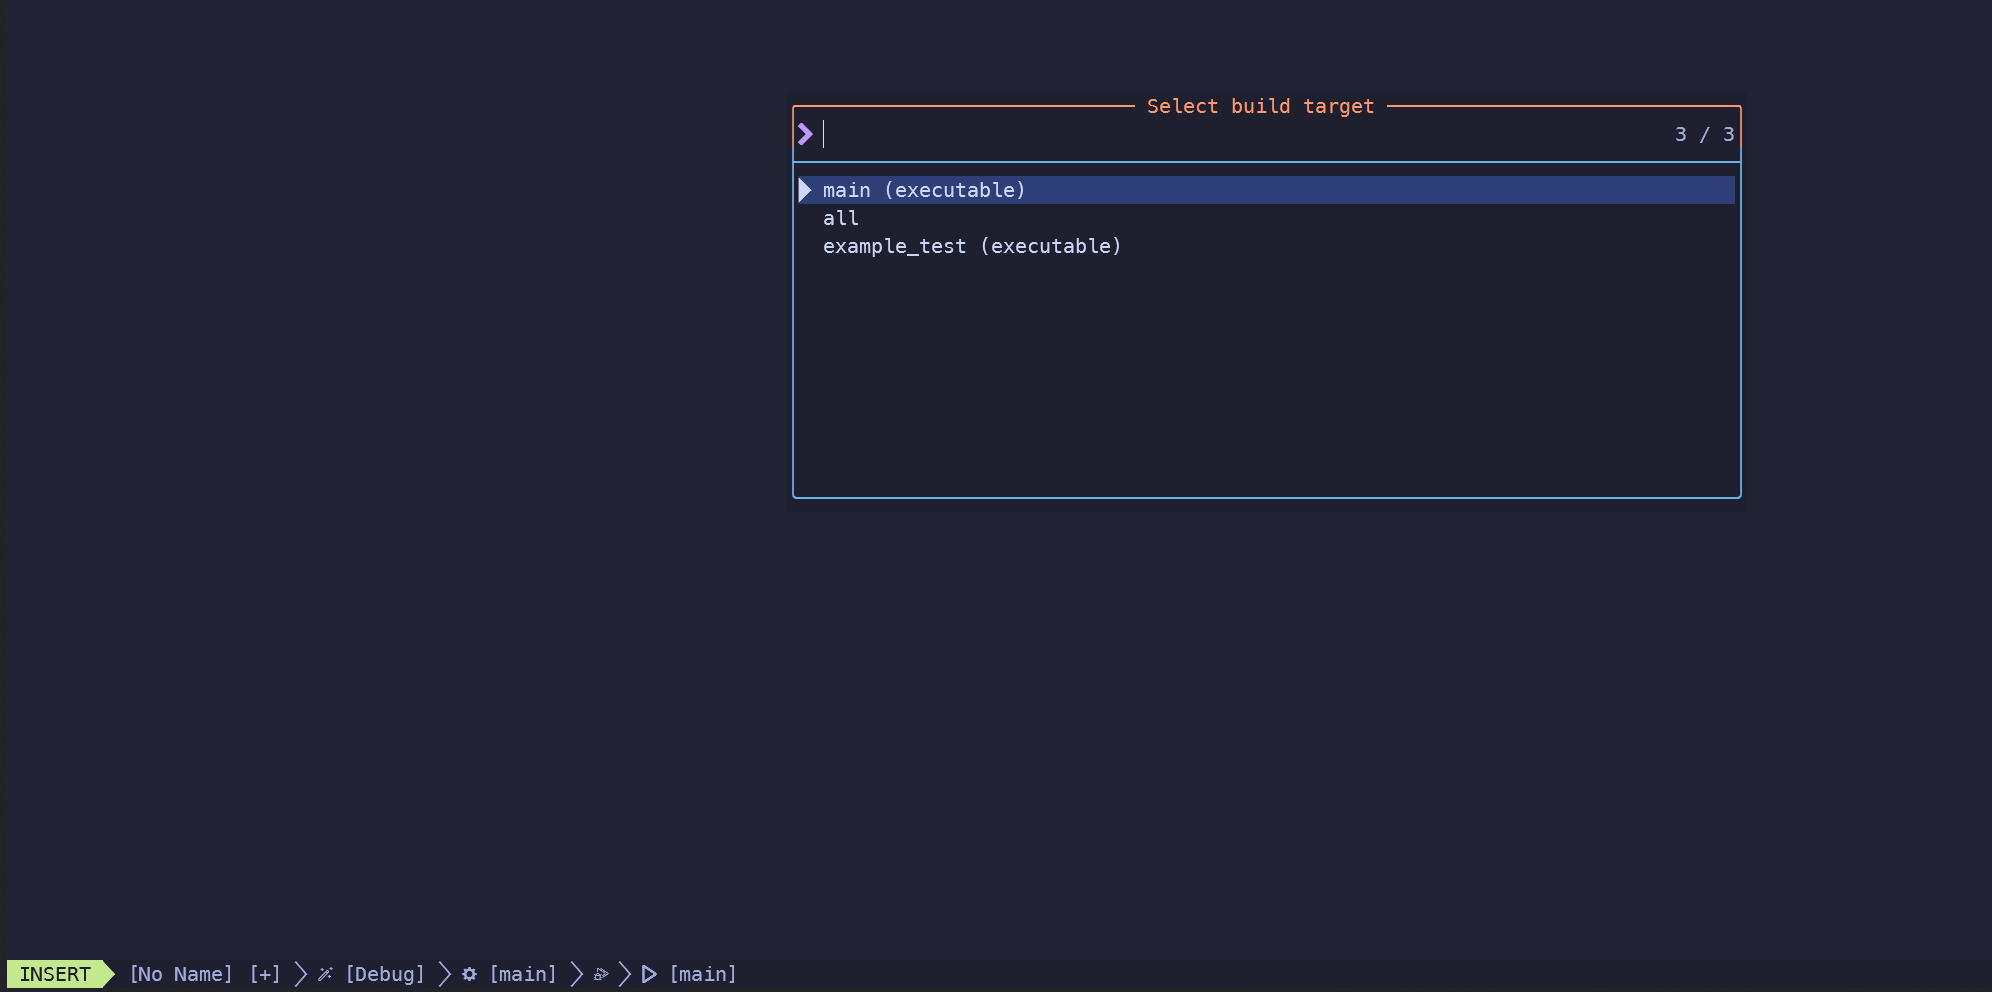
现在真可以像vscode一样使用了,可喜可贺。

