前言
2021年8月13日开始,GitHub在使用Git操作远程仓库时不再支持使用用户名密码形式进行身份验证,需使用个人访问令牌。
使用Git操作GitHub仓库时使用用户名密码进行身份验证会报错:

解决方法
使用token登录的方式,就是把你的密码替换成token即可
1、创建自己的token
1.1、登录GitHub,在GitHub右上角点击个人资料头像,点击settings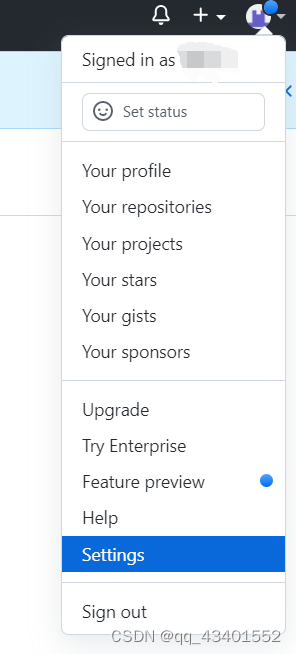
1.2、新打开的窗口,左边栏点击选择 Developer settings(开发人员设置)
1.3、点击Personal access tokens (个人访问令牌)
点击Personal access tokens ,选择Tokens(classic)即可,然后点击【Generate new token】(设置新的访问令牌)
注意:点击【Generate new token】此处还是有两个选项,选择【Tokens(classic)】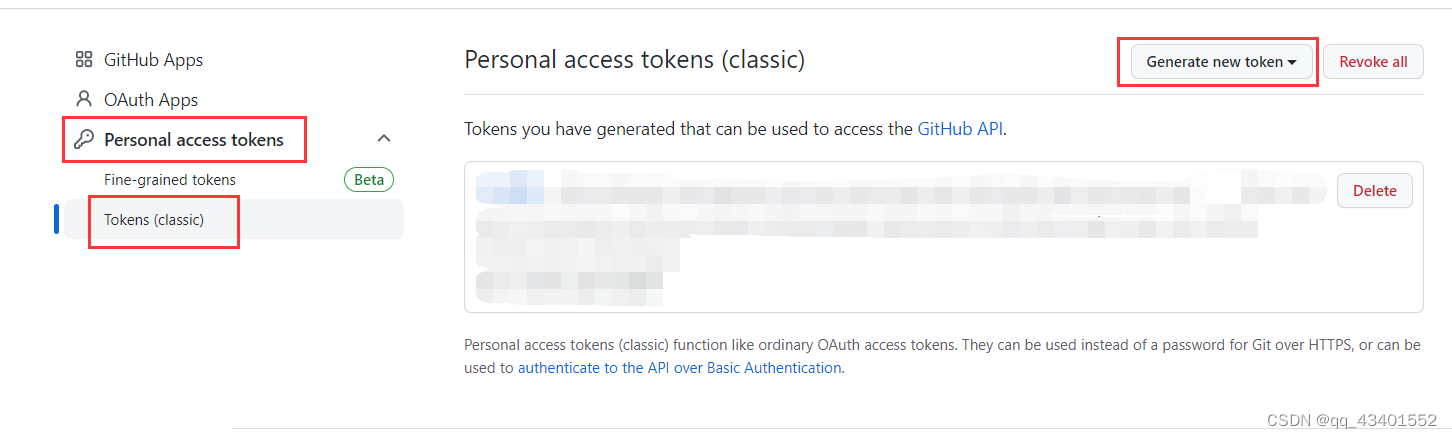
1.4、添加令牌描述信息(Note),过期时间(Expiration)、作用域(Select scopes)等
注意::作用域,一般勾选repo和delet_repo即可,其他权限,看个人需求。
repo:要使用token从命令行访问仓库
delete_repo:要使用token从命令行删除仓库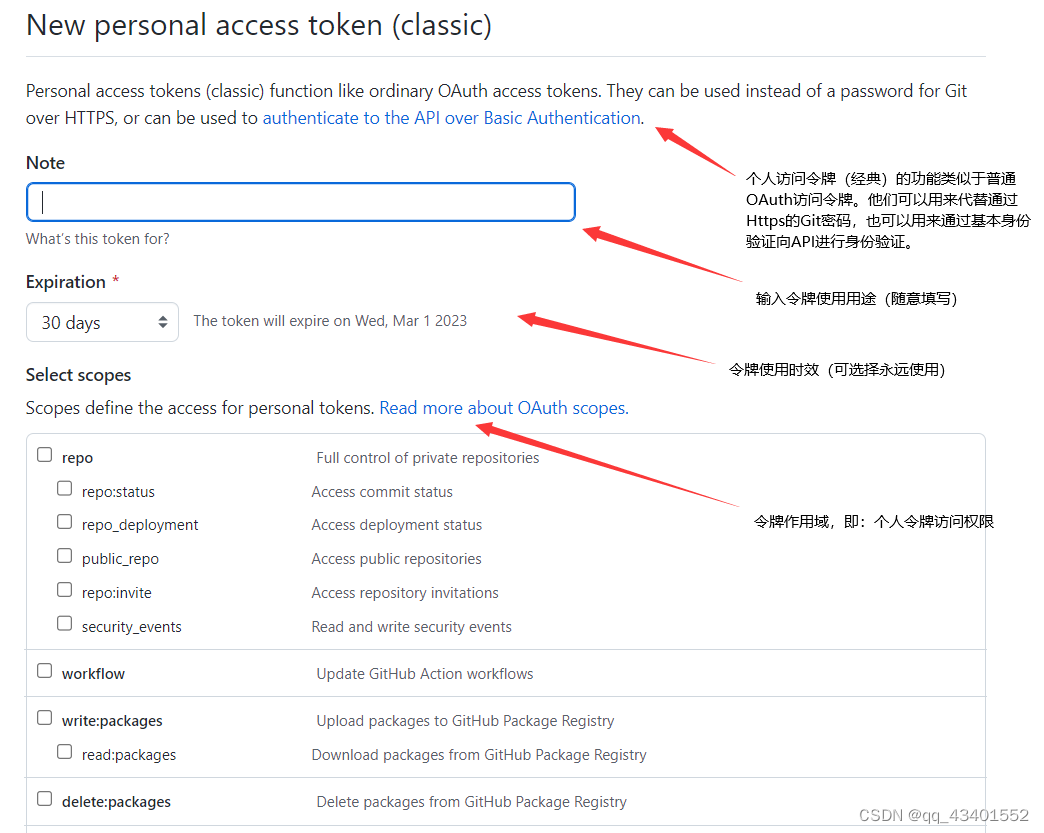
repo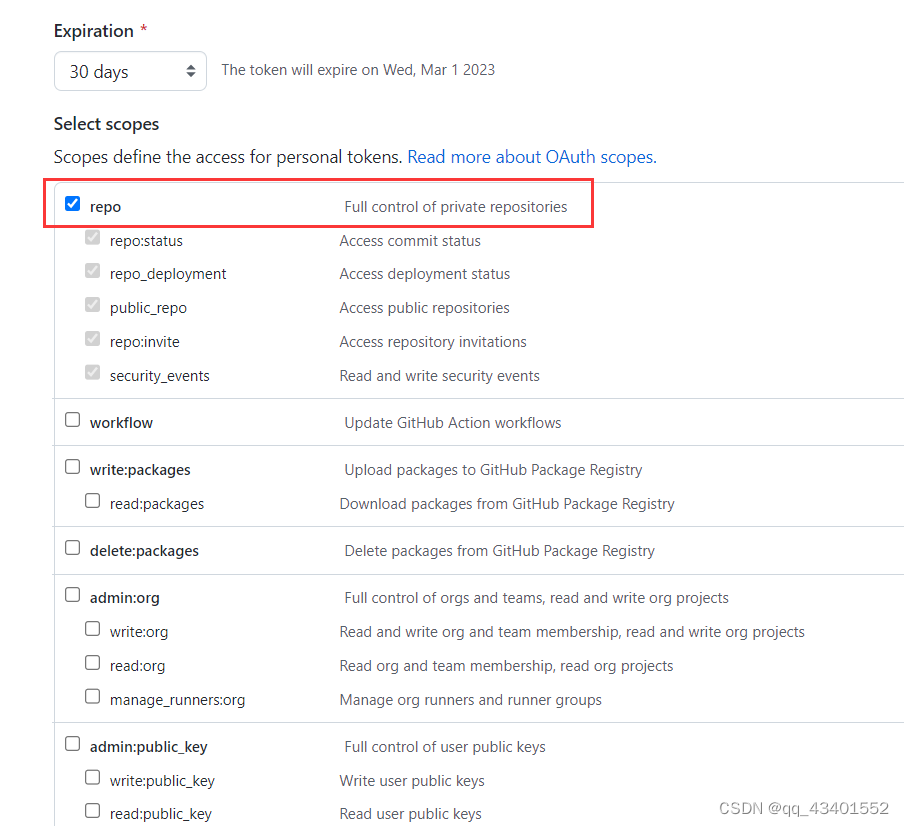
delete_repo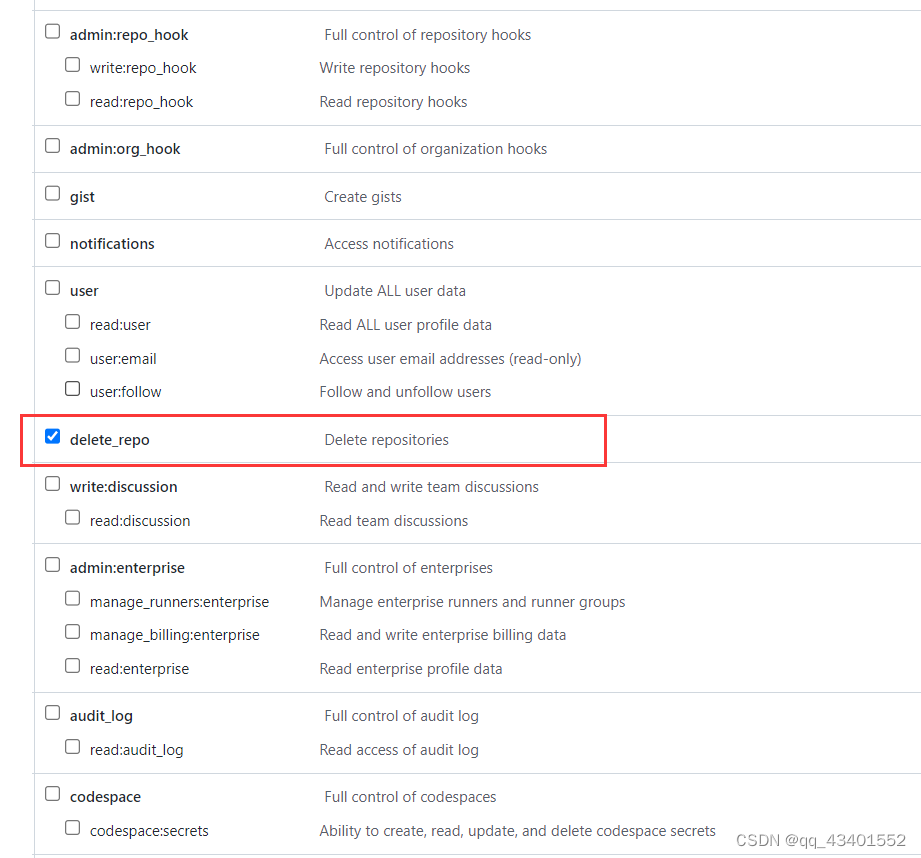
1.5、点击【generate token】生成令牌。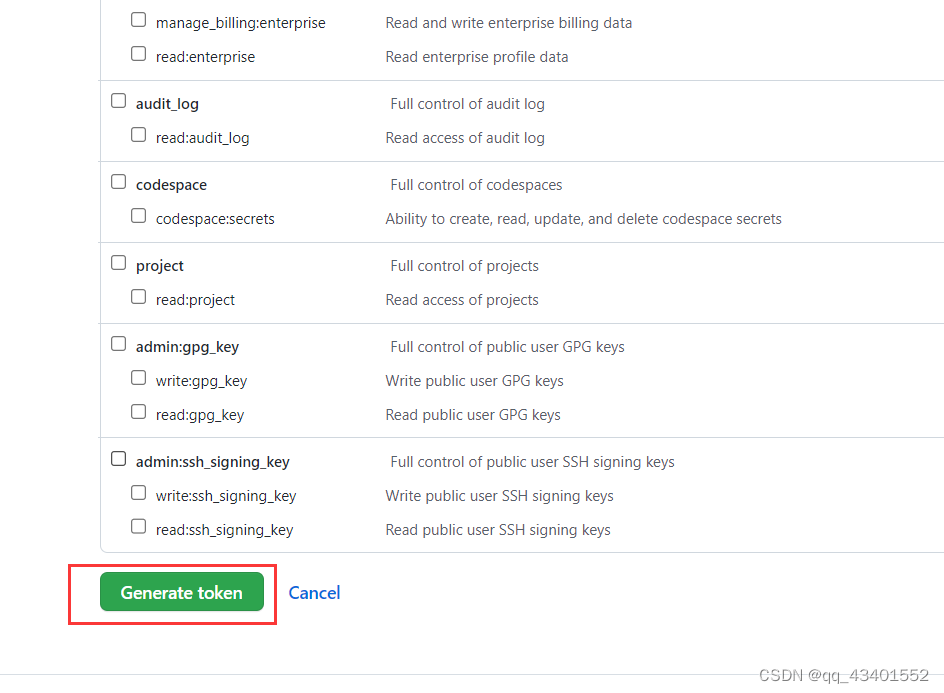
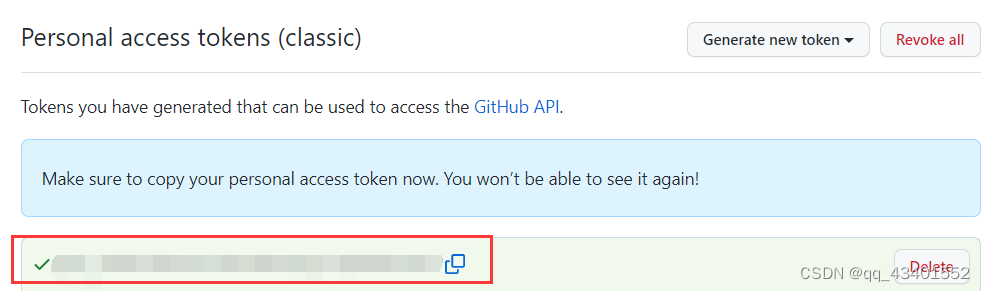
1.6、生成令牌,需要复制并保存好令牌
注意:Github为了安全,
关闭页面后将不能再次看到生成的令牌,一定要记得保存令牌。
2、使用token(classic)
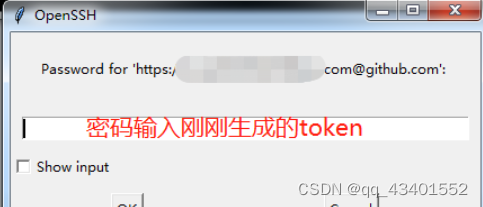
使用Git操作GitHub仓库时使用token进行身份验证
使用令牌 正常连接github会给你调起登录框 密码框中不在输入密码输入令牌即可
git add .
git commit -m " "
git push orgin master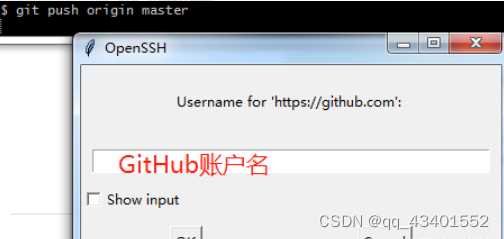
3、使用token(方法二)
修改现有项目的url
git remote set-url origin  https://<your_token>@github.com/<USERNAME>/<REPO>.git
将<your_token>换成你自己得到的令牌。<USERNAME>是你自己github的用户名,<REPO>是你的项目名称
比如:
git remote set-url origin https://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@github.com/nlp-greyfoss/typora_notes.git/其实上面的报错中就有提示,不需要重新去找:
fatal: unable to access ‘https://github.com//.git’;
//正确格式:
https://你的令牌@github.com/<USERNAME>/<REPO>.git
然后再执行git pull,世界又恢复原样了。
从Github下载到本地
对于全新版本,克隆的时候也在github.com前面加个令牌就好了。
git clone https://<TOKEN>@github.com/<user_name>/<repo_name>.git更新Tokens
因为token的有效期一般就三个月,如果过期了的话需要重新生成,具体操作的话,需要先去github,实际上就是换了个新的token:
生成token:
settings -> developer settings -> personal access tokens -> generate new token
注意!: 务必保存一下token的值
下面是在git上需要替换token的方法。
- git remote -v 查看remote分支
[wqj@VM-0-15-centos Linux]$ git remote -v
origin    https://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@github.com/wuqiongjin/Linux.git/ (fetch)
origin https://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@github.com/wuqiongjin/Linux.git/ (push)中间的ghp_.....到@之前,是过期的token。
- 我们需要删除这个token
git remote rm origin- 添加新的token,也就是方法二的
git remote add origin https://新的token@github.com/账号名称/仓库名字.git这样就大功告成了! 下次push的时候需要使用git push --set-upstream origin main,如果还有报错类似下面这种:
fatal: unable to access 'https://github.com********/': OpenSSL SSL_read: Connection was aborted, errno 10053需要再执行
git config --global http.sslVerify "false"参考链接
Git使用个人访问令牌提交代码到仓库
使用git上传代码遇到关于remote: Support for password authentication was removed on August 13, 2021.的问题
github token个人令牌